How do you keep the patchwork quilt tops flat? With the proper pressing of the seams.

Some quilters prefer to press their seams open; for many patterns, it’s a great option. I am not a fan, I do it only when it is absolutely necessary. I prefer pressing to one side.
Nesting seams means pressing the seam allowances in opposite directions; this way of pressing makes piecing more accurate and easier; it also reduces bulk.
Let’s see how to do it while piecing a simple square sample.
First, sew all the rows.
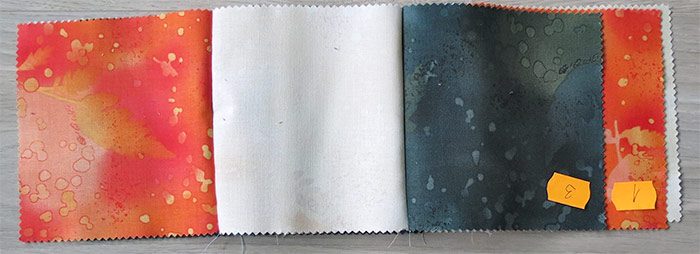
Label with numbers all the rows of the quilt top. I used price tags for this; if you don’t have price tags, just write the numbers on small pieces of paper and pin the paper to fabric.

Arrange the rows in two stacks: one stack with the odd numbers and one stack with the even numbers.

Rotate one of the stacks 180 degrees.

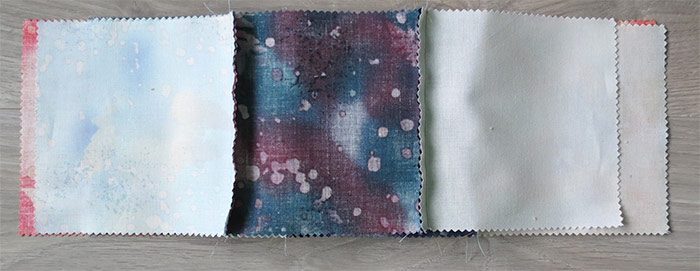
Put one stack on top of the other; now you have one big stack with all the rows of the quilt.
Turn the stack over and bring it to the pressing board.
Now press all the seam allowances- for all the rows- in the same direction.
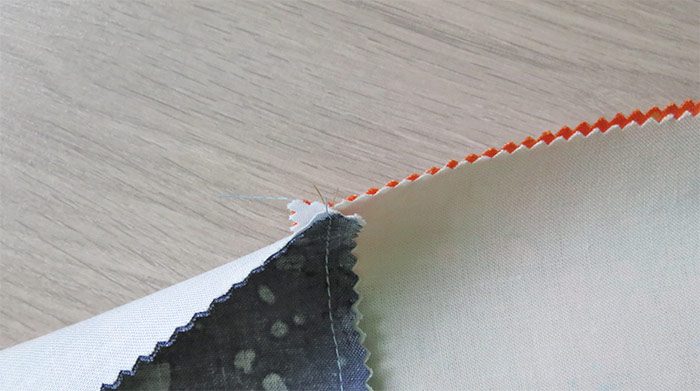
When it’s time to join the rows together, all the seams are pressed properly- in opposite directions from row to row.

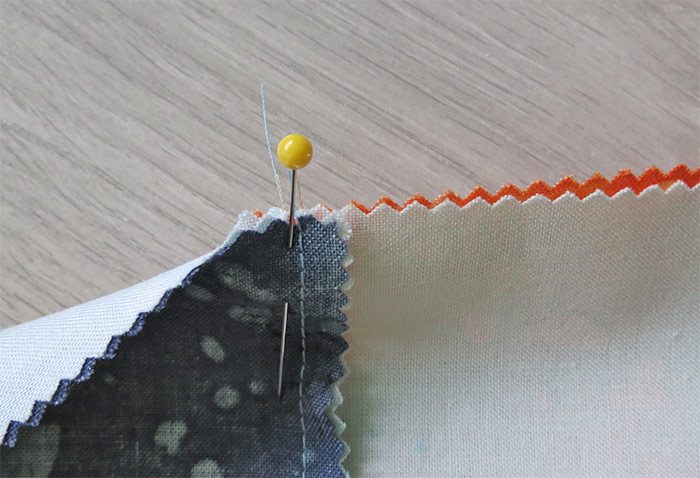
Now piece two rows together; the seam allowances pressed in opposite directions makes matching the seams easier.
Pin at each intersection. You could skip the pinning and keep the seams “locked” with your fingers while you sew. I prefer pinning, even if it takes a little more time; the results are better.
Press the seam allowances between two rows to one side- this is the fastest option. For this quilt, with simple piecing, the bulk is still minimal.

Here is my top.
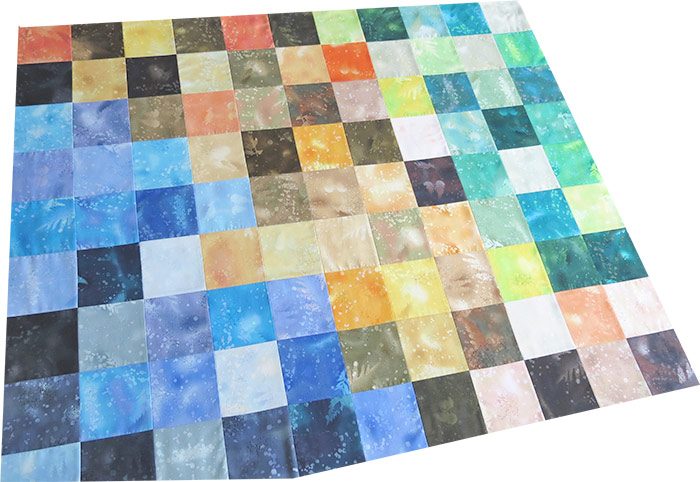
It’s amazing- most of my seams are perfectly aligned- even if I pieced this top in the biggest hurry!

When you piece blocks with complex patterns, use this technique wherever you can; it requires a little preparation- you have to determine which seams to press in which direction, but it is worth the effort.
Do you nest your seams?
Happy piecing!