Do you need some English paper piecing tips? Have you tried this technique yet?
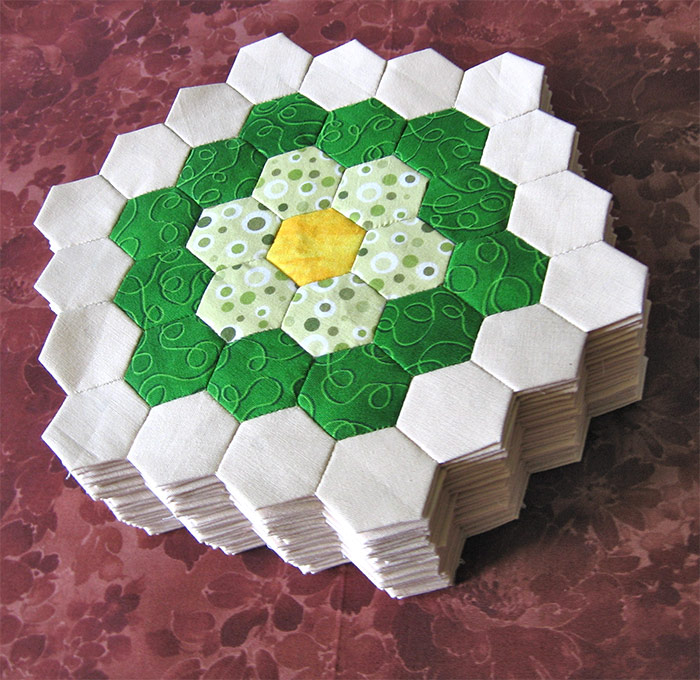
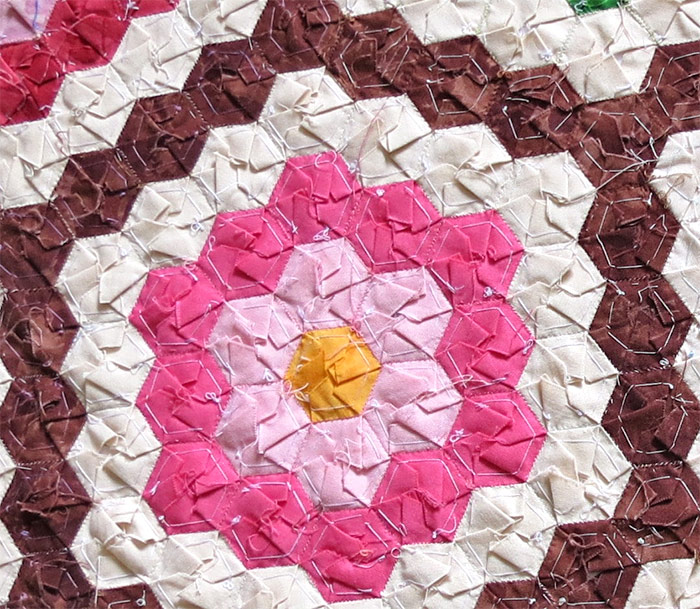
For more than 10 years I stayed away from it, admiring with envy beautiful Grandmother’s Flower Garden quilts, thinking that I will never be able to sew something like this, because : “I sew only by machine, I don’t have enough patience for sewing by hand”. I can’t remember the exact circumstances, but one day I made a hexagon flower and turned it into a coaster. 7 little hexagons- it was enough to fall in love with this wonderful technique.
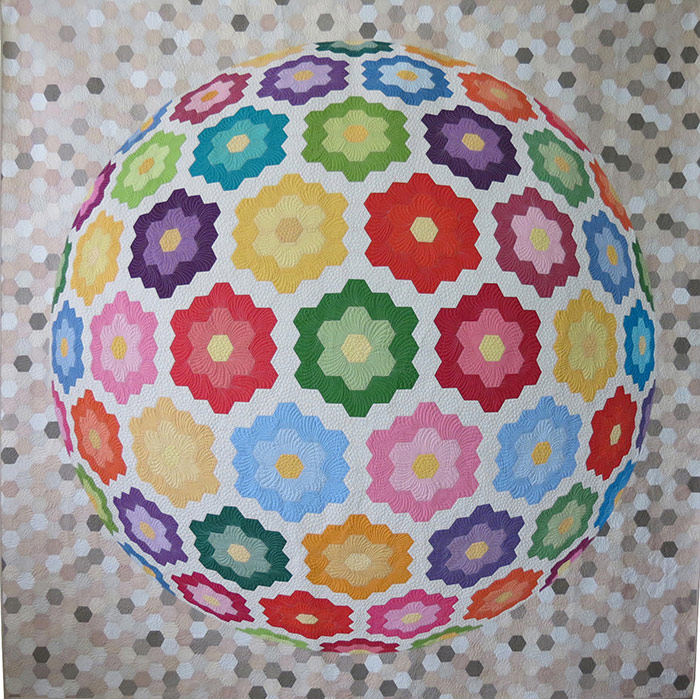
I am so happy that I overcame this belief (I am the only one responsible for it, I can’t blame others for it!), because this led to some amazing experiences in my quilting journey and to one of my best quilts ever.
Do you know something funny? From time to time I receive messages from quilters telling me they sew only by hand and some day, they must try sewing by machine! It must work both ways, right? You never know for sure, until you try it!
So my first English paper experience was this FAMILY QUILT and I think it was a very good teacher. If you are a beginner and want to start English paper piecing, here are a few tips I have learned along the way:
The perfect shape
The HEXAGON is the perfect shape to start with for a beginner. It has the best angles- making basting and sewing pieces together easy.
Pre-washing fabric
It is best to pre-wash the fabric for English paper piecing; you want to be able to easily fold and crease the fabric over the paper. A crisp fabric will make this task harder.
Basting
If possible, baste only through fabric, skip the paper. In this way, you don’t need to remove the basting stitching! If you make a small project, removing the thread is not a big deal. But it will take a lot of time if you sew a big project, with lots of pieces.
It is easy to do this, for pieces with wide angles and that are not too small.
More challenging is when you have shapes like these; in such cases, baste through paper as needed. It is more important to make accurate pieces than saving some time.

Glue pen or thread for basting the fabric to paper?
If you are wondering what are the pros and cons, here is:
The glue pen makes basting quick and easy and fun. If you have one in the drawer, it will always be your first option. But it is expensive. And the time you save while basting, you will lose it while removing the paper templates. It definitely takes more time to remove the paper and it’s not fun! I read it helps if you press the pieces just before removing the paper; the heat warms the glue and makes removing the paper easier – haven’t tried it yet myself.
No matter the cons, the glue pen it’s great for small projects!

Press the pieces after basting, on the right side of fabric.
This will make clean and sharp edges and the piece will keep its shape better.
Seam allowances
Try to have seam allowances no bigger than necessary!
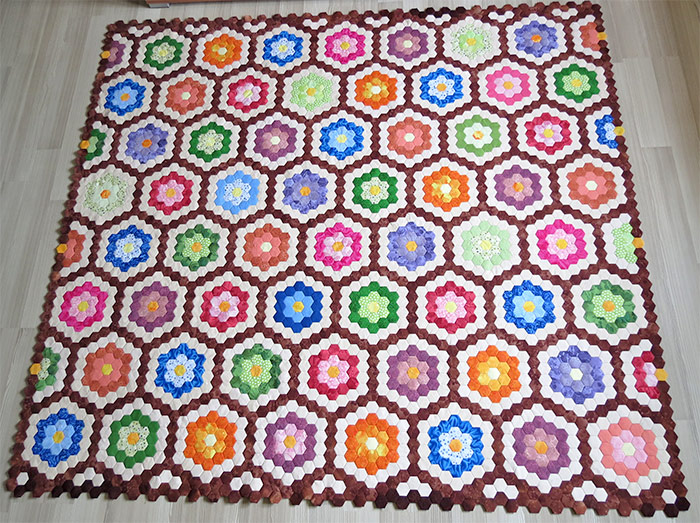
For this quilt, I basted squares over the hexagons templates. As you see, the seam allowances are big and I did not trim them after the hexagons were stitched together. I did not think at all about the additional weight my quilt will gain and that was a mistake. So finish your pieces with the proper seam allowances.
Batting
If you choose not to trim the seam allowances and if you make a bed quilt – DO NOT USE COTTON batting. Your quilt will weight a ton and you will find it is hard to manipulate it every day and even to wash it.
Use a lightweight batting, like polyester, silk or wool.
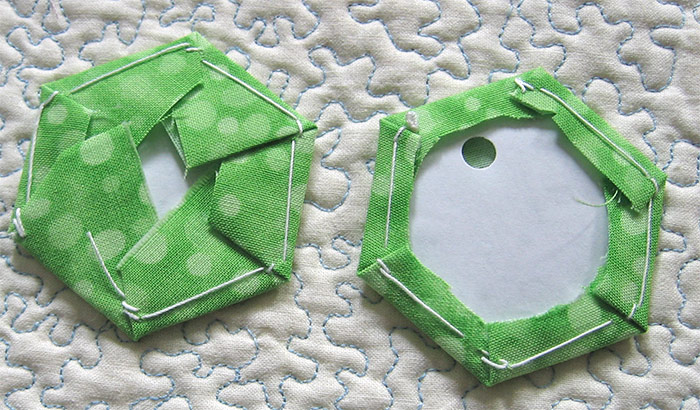
Punching hole in the paper templates
We think this hole makes removing the paper easier. I did not find it necessary. I just bend a little the piece and pull the paper out with the tip of my thread snips.
Removing the paper templates
Remove a template only when the next hexagons are attached to each side of the hexagon. I removed my papers only in the end, when the top was finished. You must be sure that you removed all the papers, I suppose it is not a great experience washing a quilt with paper inside! To avoid this, lift the top in the front of a window, in daylight. If there are papers still in there, you should be able to see them.
Thread for hand sewing
For my EPP projects, I have used silk, polyester and cotton thread.
The silk thread makes the stitching almost invisible, it’s great for show quilts, but I find it’s a little too expensive for my everyday quilts. A thin polyester thread makes a beautiful stitching, it is strong and I love it for machine sewing but not so much for hand stitching.
The cotton thread is my favorite.
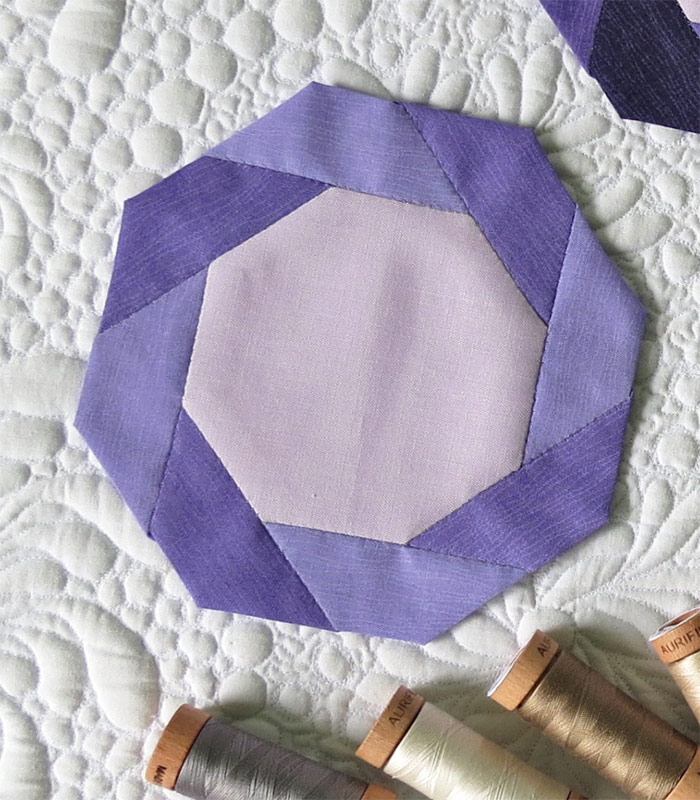
For some of my projects, I used 50wt thread and I loved it but I would have loved a thinner thread even more. Now Aurifil manufactures an 80wt cotton thread. This is the thread I used for these little samples and I love it: thinner thread – less visible stitching.
Thread color
I love to sew with cream, beige colors when I am piecing warm color fabrics (like yellow, orange, red) and shades of grey when I am sewing cool color fabrics (violet, blue, green).
Easier piecing
What makes piecing easier? Sewing with the light color fabric on top! I need glasses and noticed the huge difference between sewing with light color and dark color on top.
Final note
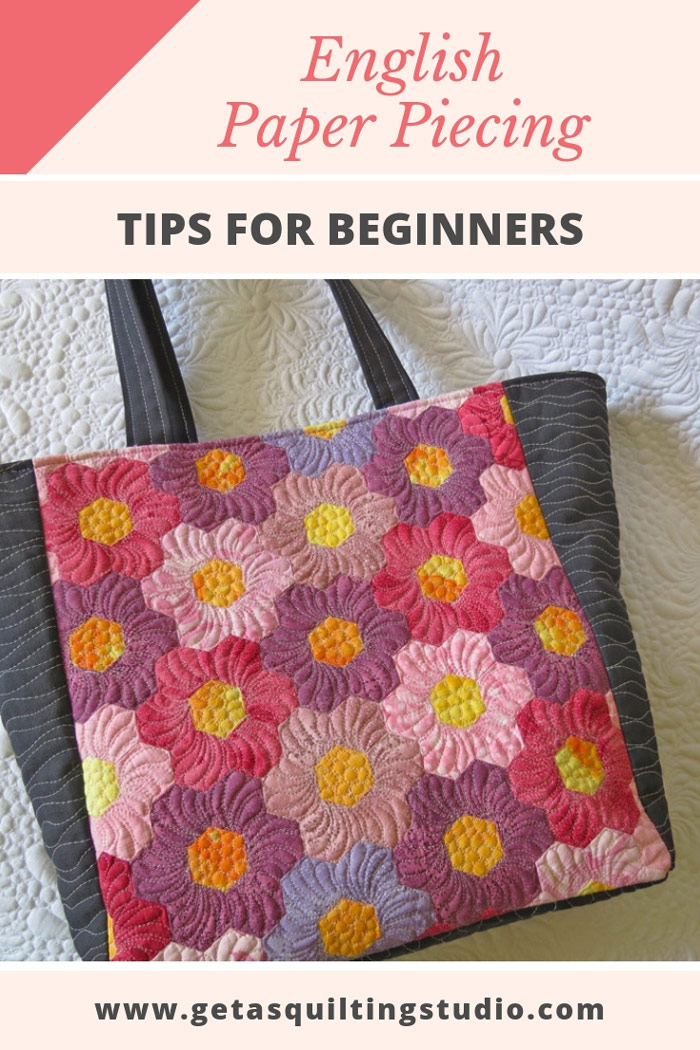
Do you have an English paper piecing project in progress? I think it is a great idea to have one, at all times. A few paper templates, some fabric scraps and when you will have only 10 or 20 minutes for sewing, instead of feeling sorry for you that you don’t have enough time to tackle that BIG project, feel accomplished by just basting and sewing a few hexies together.

A few today, a few tomorrow and over time you will have enough pieces for a pouch, a bag panel and then even for a bigger project.

Happy Quilting!

Do you need more inspiration for English Paper Pieced projects?
Check out my English Paper Pieced Patterns.